Table of Contents

Uploading files

Assigning files directly to a single item or category

  1. Using Alt+Q, search for Items and open the relevant link, or access Product Information > Items. Open an item card.
  2. Go to the Picture Document Gallery FastTab.
  3. Click the Drop files here area to upload pictures from your device, or drag and drop them directly:

dam-upload-files-1

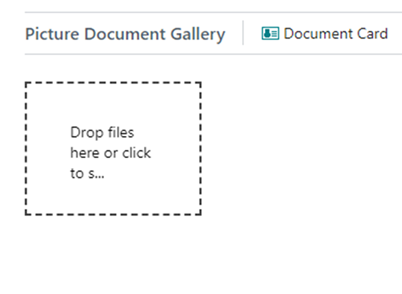
  1. In the file explorer that opens, select one or more pictures with the JPG or PNG extension. The system then shows a progress bar while the files are uploaded.

Setting or changing the main picture on the item card

  1. Using Alt+Q, search for Items and open the relevant link, or access Product Information > Items. Open an item card.
  2. Go to the Picture Document Gallery FastTab.
  3. Select a picture and click Set As Main Picture as shown below:

dam-upload-files-2

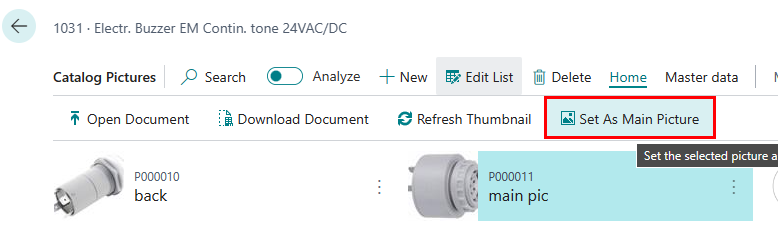
  1. The thumbnail of the main picture then appears in the FactBox on the right side of the item card.

Uploading multiple files to Pimics

Besides uploading digital assets directly to an individual item or category, files can also be uploaded in bulk to Pimics without being assigned immediately:

  1. Navigate to Worksheets > Upload Document Worksheet.
  2. Drag and drop a single file or a group of files into Upload New Files, or click the area to select files from File Explorer.
  3. After the upload is finished, the newly created documents appear in the lower part of the window.
  4. To assign the created pictures or documents to items or categories:
    1. Select the created lines in the lower group.
    2. In the action bar, go to Assign.
    3. From the dropdown, select the type of entity to which you want to assign the digital asset.
    4. Select one or more lines from the list of entities.
    5. Click OK to assign all selected documents to all selected items or categories.
  5. To perform other actions on the uploaded files, such as opening or downloading them, go to Home in the action bar.