Configuration of Sana Commerce Add-on
Warning
Sana Commerce is available as a custom add-on, so it cannot be found in standard Sana Commerce add-ons. If you'd like to use it, you need to enable custom add-ons in Sana Commerce Cloud and download the *.sanapkg file from our integration folder.
Setup in Business Central
- Choose the Search icon (or use Alt + Q), enter Web Services, then choose the related link.
- Create a new line and set:
- set Object Type to Codeunit
- set Object Id to 70113807. The name of the object is PIMX SC Web Service
- set Service Name to PimicsSC
- set it Published
Enable Application Area
- Go to Catalog Setup
- Enable Sana Commerce in group Application Area
- If you don't see the Sana Commerce, you need to first enable Beta Preview in the same group, then log out and log in again.
- Close the page.
Set up the publication
The integration follows the publication model. Data is synchronized from publications, and each publication must be configured correctly. See Publications for details.
We offer a configuration package for the default setup of the Pimics - Sana integration. Please import it.
Publication Structure Type in tab Control has to be Single Item. External Code should be the name of the webshop in Sana. Export Channel must use Sana Commerce in Publication Type. Read more about Channels.
Go to Publication Groups and select the Sana Item Publication Group. In the group setup, configure the following rule in the Publication Rule section:
- Type = Field Contains a Value
- Set the parameters as described: Table No. = 27, Field No. = 11123302, Value = 1
After closing the window, the rule should look like this: "Only items where the field "Visible in Webshop" contains the value "1" will be included.
We also recommend updating the publication in the background. Read more about job queues for publications.
Setup in Sana Commerce
The integration is delivered as an add-on package. Please, follow the instructions of Sana to get the add-on installed.
After the installation of the add-on, you can set the connection.
PRECONDITIONS
The Pimics add-on must be installed in Sana Commerce Cloud. You need an application in Microsoft Entra ID and must know the Tenant ID, Client ID, and Client Secret, with permission to the Business Central API. You have a valid configuration for Sana Store and BC. Follow Sana's documentation
Open Business Central. Choose the Search icon (or use Alt + Q), enter Microsoft Entra Applications, then choose the related link.
Select your Client ID. If the Client ID is not listed, create a new one. These fields are important:
- Client ID is the client ID from Microsoft Entra ID
- set Description to Pimics
- set State to Enabled
The application needs to have permissions to read Pimics. In User Permission Sets create a new line
- Select PIMX USER in Permission Set
- Select a company with data for Sana Commerce in field Company
Close Business Central.
Open Sana Commerce Administration (your store admin URL, for example
https://<your-sana-store>/admin).Go to App Center -> Apps.
Select tab Custom Apps. If there is no Pimics Connector 0.0.0 add-on you need to install it first
Open the configuration of the Pimics add-on.
8.1. Web Service URL (Business Central) is a link to the Pimics codeunit web service.
 > [!IMPORTANT]
 > We use the **OData V4** endpoint, so the URL is not the same as the **SOAP URL** shown in Business Central. It must follow [Microsoft policies for OData V4](https://learn.microsoft.com/en-us/dynamics365/business-central/dev-itpro/developer/devenv-creating-and-interacting-with-odatav4-unbound-action).

 - Cloud: `https://api.businesscentral.dynamics.com/v2.0/{tenantId}/{environmentName}/ODataV4/PimicsSC_Service?company={companyName}`
 - On-premise: `https://{address}:{port}/{instance}/ODataV4/PimicsSC_Service?company={companyName}&tenant={tenant}`

 > [!NOTE]
 > Company and tenant are not always required; this depends on your configuration.
8.2. Fill up your client ID in fields Client Id or BC User and Client id (SharePoint).
8.3. Fill up your secret in fields Client Secret or BC web key and Client Secret (SharePoint).
8.4. Fill up your tenant ID in field Tenant Guid.
8.5. Set Refresh only items changed in ERP to Yes.
8.6. Keep Use Basic instead of OAuth as No.
8.7. Close the configuration by selecting Save changes.
Enable the add-on.
Only OAuth (Bearer/Microsoft Entra ID) and Basic authentication are currently supported. If you use Basic authentication, align the configuration and provide a user and password instead of a client ID and client secret. For Basic authentication, the field Use Basic instead of OAuth must be set to Yes. SharePoint supports only OAuth, so provide any valid client ID there and configure Pimics to send public links instead of SharePoint links.
Synchronize Categories
Categories from Pimics are synchronized using the Configure categories from ERP process in Sana Admin.
- Open Sana Commerce Administration (your store admin URL, for example
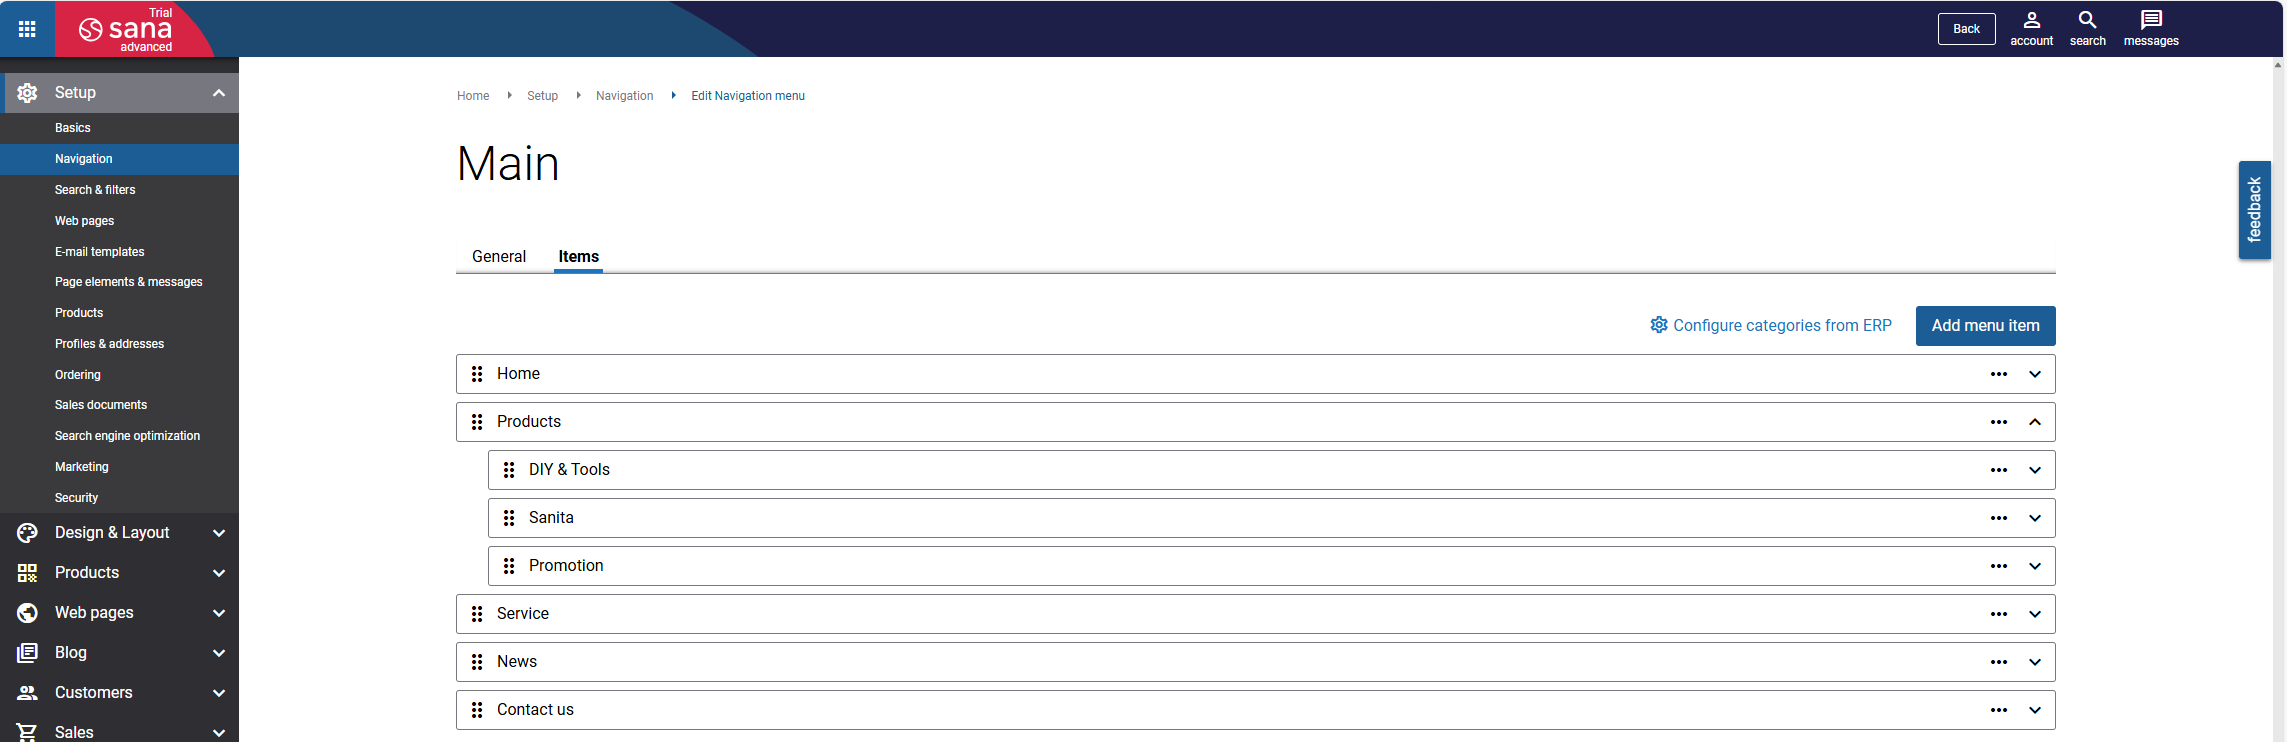
https://<your-sana-store>/admin). - Go to Setup -> Navigation.
- Select Edit on Main navigation.
- In the Items tab select Configure categories from ERP.
- Run synchronization by:
- Selecting Import from ERP if there is no category
- Selecting Re-import all available categories if you already have a category
Additional Info
All the communication between Sana and Pimics is tracked and saved in Pimics Activity Log.