Create and manage product items in Pimics
Pimics works with the standard Business Central items. They are extended by additional fields and related tables.
All the processes mentioned for items in the Microsoft documentation will also work with the Pimics extension. Some of these processes are extended by our Pimics solution. To be able to manage complex product data new processes were created.
New Item pages
To streamline working with product data we added our own, PIM-optimized versions of the items list and item card to the Pimics user role. Since they will be used by PIM-focused users, these custom forms are focusing on the PIM-related data processes as decribed below.
Go to: The PIM Items List or The PIM Item Card
The PIM Items List
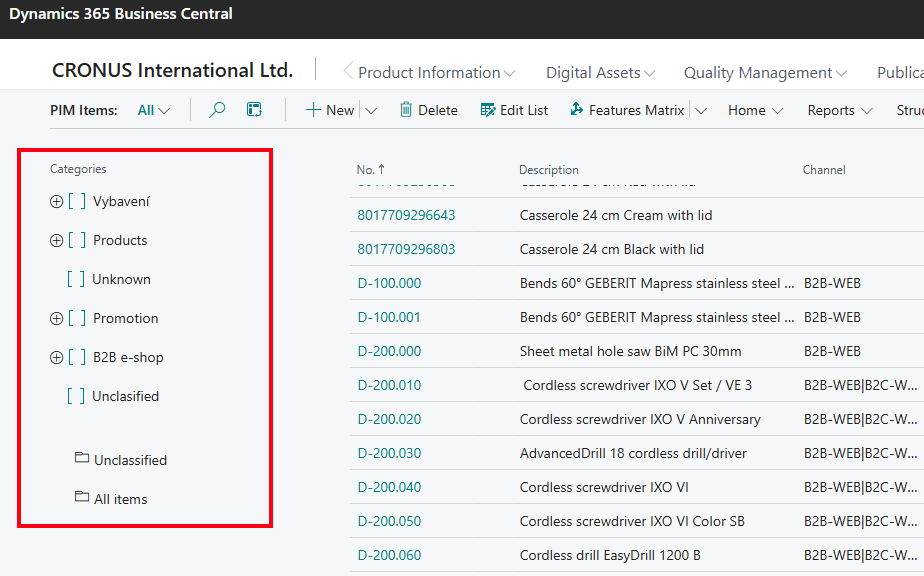
This form is similar to the stock ERP items list, but it features a view of the product categories tree at the left, which will be very useful when working with the product data structure. Also, it will display only item data that is relevant from the point of view of a PIM user, thus bringing all necessary parameters within reach and making for a much simpler and productive experience.
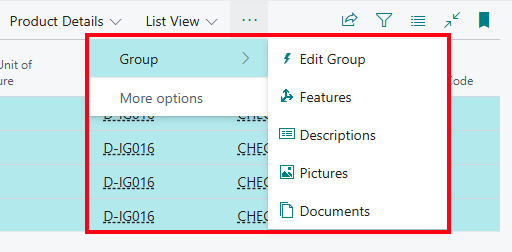
The following section says nothing, we should delete it There are several productivity features within easy reach on the PIM Item List. You can either use them for a single item or an items selection:
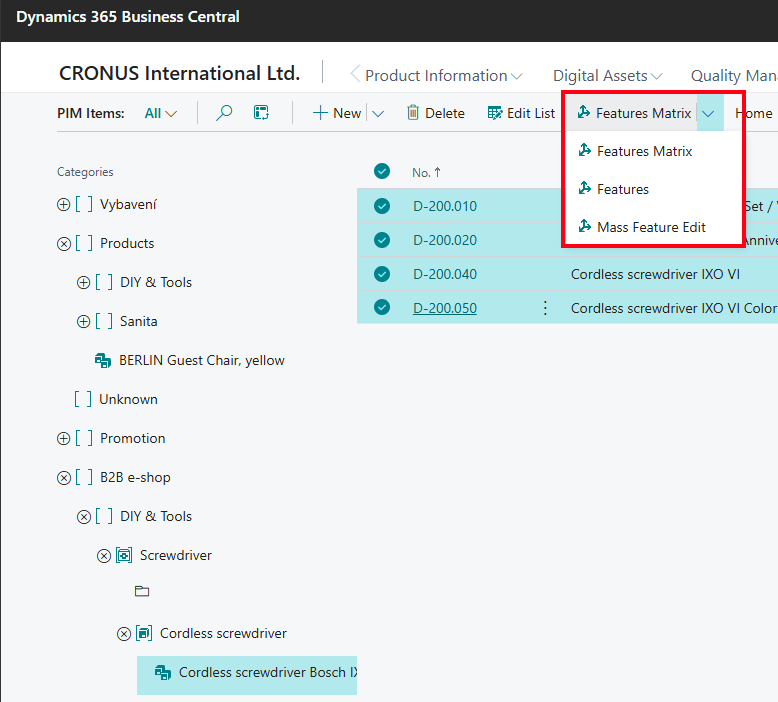
Features comparative matrix and bulk edit:
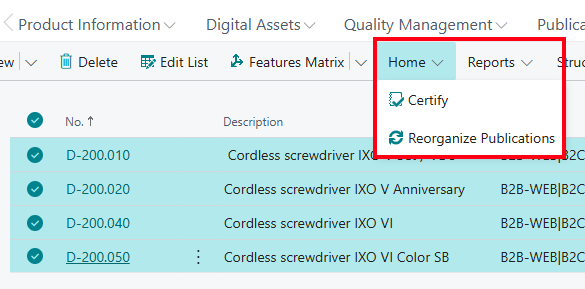
Bulk items certification and publications reorganizing:
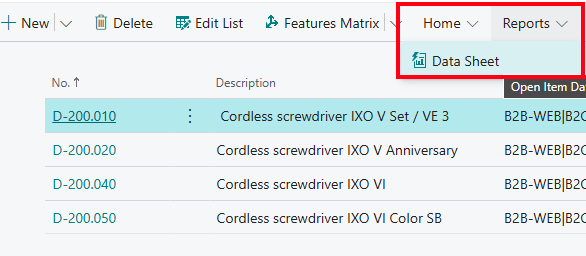
Product data sheet report:
Quick assigning to categories or product tree modifications:
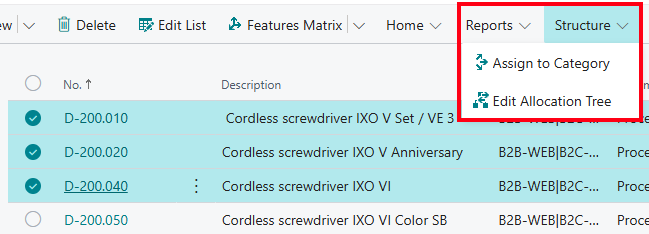
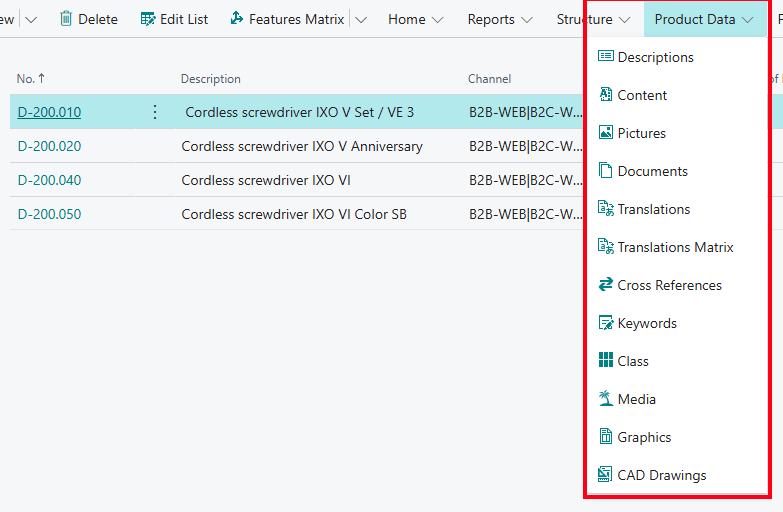
Directly accessing Pimics product data:
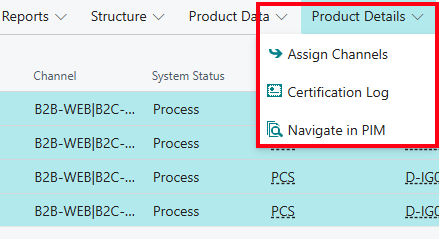
Quickly assign output channels, view the certification log or see all instances of the product in the PIM structures:
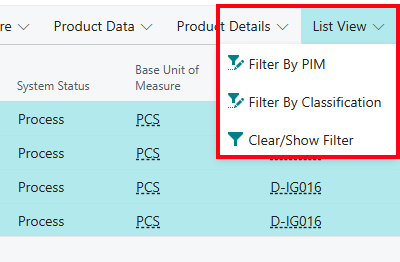
A comprehensive array of filtering options:
Edit category, or Pimics data at a category level:
The PIM Item Card
Managing extended product data can be done for the most part directly on the item card, or starting from the item card. Looking at the PIM Item Card, you can see yet another example how we optimized the user interface for managing product information inside the Pimics user role. It is similar to the ERP's default Item Card, but it only contains information that is relevant from a PIM point of view. From PIM Item Card you can access Business Central's default item card by going to Item → Open Standard Item Card.
Below you will find the main Pimics functionality available on the PIM Item Card.
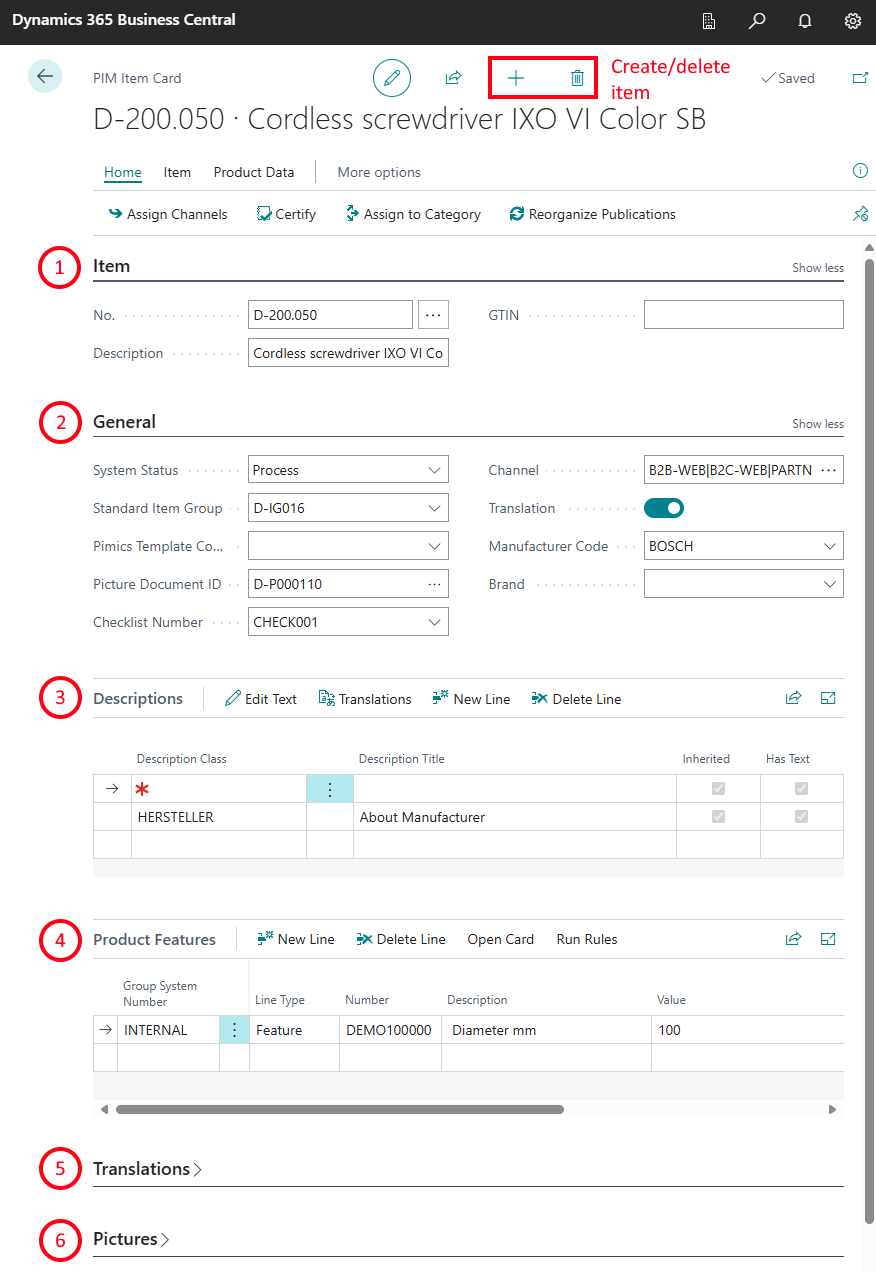
- Basic item data: Item no., ERP description, GTIN number.
- Important PIM data: here you can see at a glance the high-level PIM parameters of the current item, like certification status, default checklist, allocated channels for publication, category information, main picture, or whether or not the item has translations.
- Product descriptions: here you will have any texts for the product, long or short, in Rich Text format. They can include a brief description for an online shop, a long description, marketing texts, standard safety descriptions inherited from the product category, etc.
- Product features: here you will define all features of the product, such as dimension, color, weight, etc.
- Translations: here you can manage all translations needed for the current product. This is especially useful when you make your product catalog available in multiple markets with different languages.
- Pictures: here you can manage all product pictures and graphics.
- Control: this section is mainly about inheritance. Modifying these parameters will tell Pimics whether or not the current item will inherit descriptions, features, keywords, pictures, documents, etc. from categories above.
Item lifecycle
Here is a small example of the complete lifecycle of an item. This doesn't go into detail and it does not describe any information on how to create features, texts, pictures, and other data on items. This process also expects that the configuration of Pimics is done, so you have categories, checklists and publications already defined.
New Item Process
- Search for PIM Items and select related link
- Expand categories until you find an item group that you'd like to use for the new item
- Under New select New Child Item.
- Before you see the Item Card you can get a pop-up to select a template. Please select one of them.
- The new item has been assigned to the selected group and inherits all the data (see inheritance for more details), the item also contains for example the description from the parent item group
- Now you can work on the item and fill up all data that you'd like to have there
- To get an item to channels select action Assign to Channels
- On the list of channels select 1 or more lines where the item will be available
- After closing the page you can see new values in the field Channel
- To verify that you haven't forgotten anything select action Certify it checks the data against checklists
- You should see a new value in the field System Status
- if it is Certified you can continue
- If there is another value (Process, Partially Certified) you can see details in factboxes Certification Log and Channels
- Everything is prepared so now we need to synchronize the item with publications. For this select Reorganize Publications
- On the list of publications select 1 or more lines where the item will be updated immediately.
